P2199 means the engine computer has detected an implausible difference between two intake air temperature readings. The fault usually involves an IAT sensor, a charge-air temperature sensor, damaged wiring, poor connector contact, or an air-temperature value that does not match real operating conditions. The vehicle may still drive normally, but ignoring the code can affect fuel mixture, boost control, emissions, and cold-start performance.
This is an informational search intent: the priority is understanding the code and diagnosing it accurately, not buying a random sensor. P2199 is especially easy to misdiagnose because the sensor itself is only one possible cause.
What Does P2199 Intake Air Temperature Sensor Correlation Mean?
Modern engines may monitor intake temperature at more than one point. One sensor can measure air entering the intake system, while another measures air after the turbocharger, intercooler, or throttle body. The powertrain control module compares these readings and expects them to follow a reasonable relationship.
When the readings disagree beyond the manufacturer’s programmed limit, the module stores OBD-II code P2199: Intake Air Temperature Sensor 1/2 Correlation. The exact sensor names and monitoring strategy vary by manufacturer. On some vehicles, the second input is integrated into a MAF or MAP sensor; on turbocharged engines, it may be mounted in the charge-air pipe or intercooler outlet.
The word “correlation” is important. It does not automatically mean that both sensors are defective. A loose terminal, a broken signal wire, an incorrect replacement sensor, or an intake leak can create the same apparent disagreement.
Common Causes of P2199
- Failed or contaminated intake air temperature sensor
- Separate IAT sensors producing inconsistent readings
- Corroded, loose, pushed-back, or oil-soaked electrical terminals
- Open circuit, short to ground, or short to voltage in the sensor wiring
- Damaged wiring near the turbocharger, exhaust heat, airbox, or intercooler
- Unmetered air entering through a cracked intake boot or loose clamp
- Incorrect MAF, MAP, or combined air-temperature sensor installation
- Aftermarket intake or intercooler plumbing that changes sensor placement
- Rarely, a failed PCM or a software calibration issue
On forced-induction vehicles, heat soak can expose a marginal sensor. A connector may work while the engine is cold but lose contact after the surrounding plastic and wiring become hot. This explains why a code can return only after a long drive or during a hot restart.
Symptoms You May Notice
P2199 does not always produce dramatic symptoms. If the temperature values remain within a plausible range, the vehicle may only illuminate the check engine light. The PCM can also substitute a calculated temperature value and continue operating in a protective strategy.
- Check Engine Light or intermittent warning light
- Hard starting, especially during cold or heat-soaked conditions
- Rough idle or hesitation during acceleration
- Reduced fuel economy caused by incorrect air-density calculations
- Weak turbocharger performance or reduced boost response
- Rich or lean mixture-related codes appearing alongside P2199
- Cooling fan activity or emissions-test failure on some models
Do not assume that poor acceleration proves the engine has a boost leak. A sensor disagreement can alter ignition timing, fueling, and boost control, while a real intake leak can independently cause the same drivability complaint.
How to Diagnose P2199 Correctly
1. Record freeze-frame data
Before clearing the code, save the engine speed, load, coolant temperature, intake temperatures, vehicle speed, and whether the fault was stored as pending or confirmed. This tells you whether the disagreement occurred during a cold start, normal cruising, or high-load boost operation.
2. Compare live data on a cold engine
After the vehicle has sat overnight, IAT readings should normally be close to ambient temperature and reasonably close to engine coolant temperature. A reading of 20°C on one sensor and 75°C on another before starting is suspicious unless the vehicle design places one sensor near a heat source.
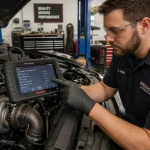
Use a scan tool to monitor every relevant temperature PID, not only the generic IAT value. Look for labels such as IAT1, IAT2, charge air temperature, intake temperature, MAF temperature, or turbo inlet and outlet temperature. Manufacturer service information is essential because the scan-tool naming convention is not universal.
3. Watch the readings during a warm-up and road test
A healthy thermistor reading should change smoothly. Sudden jumps, a fixed value, or a temperature that changes when the harness is gently moved points toward a wiring or terminal problem. On a turbocharged engine, the post-intercooler temperature may rise under boost and then fall when airflow increases; it should not behave randomly.
4. Inspect the physical system
Check the sensor body, O-ring, retaining clip, airbox, intake tube, turbo inlet, intercooler hoses, and clamps. Look for a sensor installed at an incorrect angle, a missing seal, oil contamination, moisture inside the connector, and wiring melted against a hot component.
A useful workshop trick is to inspect the connector under magnification. Terminals can look clean from outside yet fail to grip the sensor pin. Compare terminal tension with a known-good connector or follow the manufacturer’s terminal-test procedure rather than spreading the contacts with a probe.
5. Test the circuit, not just the sensor
Most IAT sensors are negative-temperature-coefficient thermistors: resistance decreases as temperature increases. With the sensor disconnected, compare its resistance against the manufacturer’s temperature chart. Do not use a generic resistance value as a final verdict because sensor curves differ.
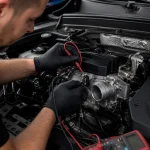
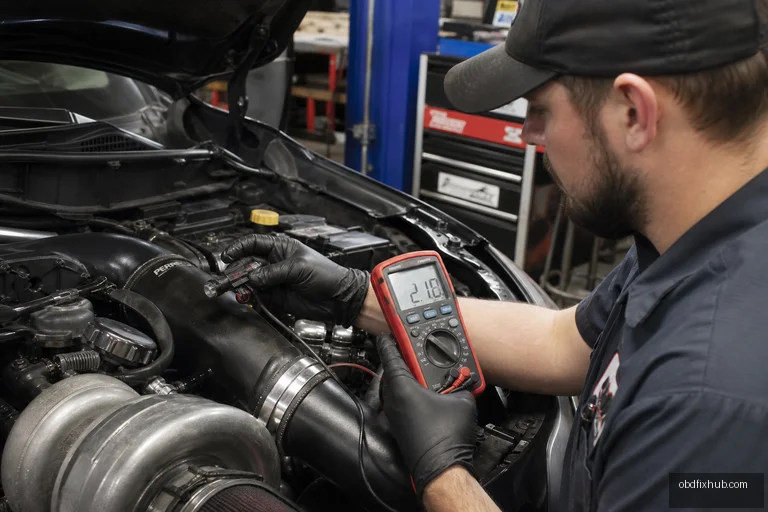
Check the reference voltage, sensor ground, and signal circuit with a wiring diagram. A multimeter may show continuity while the circuit fails under vibration, so voltage-drop testing and a wiggle test are valuable. Avoid forcing a test light into small PCM terminals; back-probe carefully and use the specified test equipment.
6. Check for software and modification issues
If the hardware tests correctly, verify that the vehicle has the correct sensor part number and that the PCM calibration is current. Non-original intake systems sometimes relocate the sensor or use a sensor with a different thermistor curve. In that situation, the PCM may receive a believable temperature that is still wrong enough to trigger a correlation fault.
Repair Options for P2199
The correct repair depends on the failed test result:
- Replace the IAT sensor if its resistance or live-data response is outside specification.
- Repair damaged wires using sealed automotive splices and protect the harness from heat and abrasion.
- Replace or tension damaged connector terminals instead of simply spraying contact cleaner.
- Repair cracked intake ducts, loose clamps, missing seals, or leaking intercooler connections.
- Install the correct MAF, MAP, or combined temperature sensor when an incorrect part is fitted.
- Restore modified intake plumbing if it places the sensor in an unsuitable location.
- Perform PCM software updates only when manufacturer information supports that repair.
After the repair, clear the code and repeat the conditions shown in the freeze-frame data. Confirm that the temperature signals begin close together when cold and change logically during warm-up and load. A scan-tool verification drive is more meaningful than clearing the light and waiting to see whether it returns.
Can You Drive With P2199?
Short, gentle driving is often possible when the engine starts normally, runs smoothly, and no red warning lights are present. However, avoid extended high-load or boost operation until the cause is known. Incorrect intake-temperature data can cause poor fueling, reduced performance, or additional catalyst and turbocharger stress.
Stop driving and arrange professional diagnosis if the engine is severely misfiring, stalling, overheating, running extremely rich or lean, or showing oil-pressure or coolant-temperature warnings. P2199 may be only the visible part of a larger electrical or air-induction fault.
Summary: The Fastest Way to Solve P2199
P2199 identifies disagreement between intake-air temperature measurements; it does not prove that a sensor must be replaced. Start with freeze-frame and cold-soak live data, then inspect connectors, wiring, sensor placement, and intake plumbing before testing the thermistors against manufacturer specifications. Repair the verified fault, reproduce the original conditions, and confirm that both readings now behave logically.
If the code returns after a sensor replacement, stop replacing parts and obtain the vehicle-specific wiring diagram and sensor data chart. That step often reveals a damaged terminal, incorrect part, or second temperature sensor that was overlooked.
Frequently Asked Questions
Is P2199 caused by a bad IAT sensor?
It can be, but not necessarily. P2199 can result from wiring faults, poor connector contact, air leaks, incorrect sensor installation, or disagreement between two working sensors. Live-data comparison and circuit testing should come before replacement.
Can a dirty air filter cause P2199?
A restricted air filter alone usually does not directly set this correlation code. However, a damaged airbox, poorly fitted aftermarket filter, oil contamination, or disturbed sensor wiring during filter service can contribute to the fault.
Does P2199 clear itself?
The PCM may turn the warning light off after several successful drive cycles, but the stored history can remain. If the underlying fault is intermittent, the code will usually return. Clear it only after repairs and verify the vehicle under the original fault conditions.
Where is the intake air temperature sensor located?
It may be mounted in the airbox, intake tube, MAF sensor, MAP sensor, throttle-body duct, or charge-air pipe. The exact location depends on the engine and model, so use the vehicle’s service information rather than relying on a generic diagram.