B3A1D Battery Charger B means the vehicle has detected a fault in the charging system identified as Charger B. The problem may be a weak 12-volt battery, damaged wiring, a failed fuse or relay, poor cooling, a defective onboard charger, or a fault in the high-voltage battery system. Do not replace the charger immediately: first confirm whether the code is active, check the low-voltage supply, and follow the manufacturer’s high-voltage safety procedure.
What Does B3A1D Battery Charger B Mean?
B3A1D is a body-system diagnostic trouble code rather than a universal engine code such as P0300. In many hybrid and electric vehicles, “Battery Charger B” refers to one charging circuit, onboard charger channel, or a designated charger module. The exact definition, test conditions, and component location can vary by manufacturer, so the vehicle’s factory service information is more reliable than a generic code list.
The code is normally set when the control module sees an electrical value outside its expected range. Depending on the vehicle, that may include charger input voltage, output voltage, charging current, temperature, insulation resistance, communication with the battery management system, or the charger’s internal self-test. A scan tool may show additional manufacturer-specific codes that explain the failure more precisely.
Common Causes of B3A1D
- Low 12-volt battery voltage: A weak auxiliary battery can prevent the charger from starting correctly, especially after the vehicle has been parked for several days.
- Blown fuse or failed relay: A charger power fuse, pre-charge circuit, or contactor may be open even though the charger itself is healthy.
- Damaged wiring or connectors: Corrosion, water intrusion, loose terminals, rodent damage, and high-resistance connections can interrupt power or communication.
- Charging cable or inlet problems: A bent pilot pin, contaminated connector, failed lock mechanism, or damaged charging cable can stop the charge request.
- Cooling-system failure: Electric chargers generate substantial heat. A failed coolant pump, blocked passage, air pocket, or low coolant level can trigger protection shutdown.
- Onboard charger failure: Internal power electronics, capacitors, switching components, or the charger control board may be defective.
- Battery management or communication faults: The charger may refuse to operate if it cannot communicate with the battery management system or receives an unsafe battery-temperature reading.
- Software or calibration issues: A control-module update may be required in some vehicles, particularly when the fault appears after a 12-volt battery replacement or electrical repair.
Symptoms You May Notice
The most obvious symptom is that the vehicle will not charge, stops charging early, or charges only intermittently. The instrument cluster may display “Check charging system,” “Unable to charge,” “Service electric vehicle system,” or a similar warning. Some vehicles still drive normally because the propulsion battery contains energy, but the fault can become more serious once that charge is depleted.
Other clues include a charging indicator that remains amber or red, repeated clicking from the charging contactors, a cooling fan that runs unusually often, reduced charging speed, or a 12-volt battery that repeatedly goes flat. If there is a burning smell, melted connector, visible arcing, smoke, or an overheated charging port, stop charging immediately and arrange professional inspection.
How to Diagnose B3A1D Safely
High-voltage vehicle systems can cause fatal injury even when the ignition is switched off. Do not remove orange high-voltage cables, open an onboard charger, or probe high-voltage terminals with a standard multimeter unless you are trained, equipped, and authorized to do so. The checks below are limited to safe preliminary inspection.
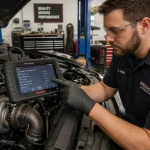
- Record all codes and freeze-frame data. Scan every relevant module, not just the powertrain controller. Codes from the battery management, charging inlet, thermal management, and 12-volt systems often reveal the original cause.
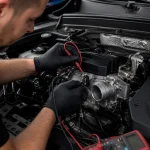
- Check the 12-volt battery. With the vehicle asleep, a healthy fully charged battery is commonly near 12.6 volts. A reading around 12.0 volts or less deserves attention before condemning the charger. Use the vehicle’s specified test procedure because some systems require a load or conductance test.
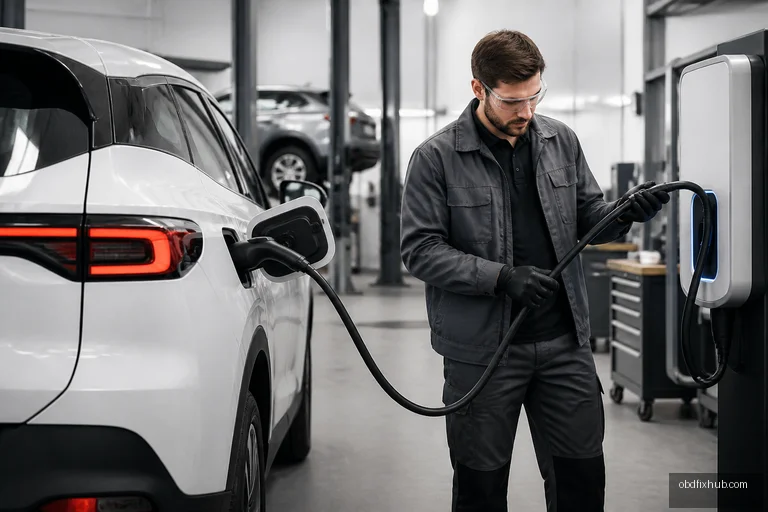
- Inspect the charging connection. Look for moisture, dirt, bent pins, corrosion, looseness, or evidence of overheating. Never scrape terminals with a metal tool or use an unapproved extension cable.
- Verify the external supply. Test the wall outlet or charging station with an approved method and confirm that the cable is correctly latched. Try a known-good compatible charger only when the manufacturer permits it.
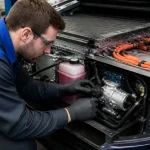
- Check accessible fuses and coolant level. Use the owner’s manual or service information for fuse locations and ratings. Never install a larger fuse. If the coolant is low, do not simply top it up without identifying the leak and following the correct bleeding procedure.
- Clear and retest only after documenting the fault. If the code returns immediately, the fault is active. If it returns only during charging, the technician should monitor charger current, temperature, communication data, and contactor operation.
How to Fix a Battery Charge Fault
The correct repair depends on the test results. A discharged 12-volt battery may need charging, replacement, and a battery-management reset. A corroded connector may require terminal repair rather than simple cleaning. A failed fuse or relay should be replaced only after checking why it failed; installing another fuse without finding a short can damage the vehicle.
If the charger has proper power, ground, cooling, and communication but produces no output, the onboard charger or its control module may need replacement. Some manufacturers sell internal components separately, while others require a complete charger assembly. After installation, the vehicle may need software programming, high-voltage isolation testing, coolant bleeding, and a controlled charging verification.
When B3A1D appears with insulation-resistance, battery-temperature, or high-voltage interlock codes, replacing the charger alone is often the wrong repair. A qualified EV technician should isolate the affected circuit and confirm that the battery pack, contactors, inlet, and wiring meet the manufacturer’s safety limits.
How Can You Tell If Your Battery Charger Is Bad?
A charger is more likely to be defective when the vehicle has a known-good 12-volt supply, correct input power, intact fuses, no charging-port damage, normal cooling, and no communication or interlock problem, yet the charger still fails its output test. On a standalone low-voltage charger, warning signs include no output voltage, a fault light that returns with a known-good battery, excessive heat, abnormal buzzing, or a charge current that falls to zero immediately.
Do not judge a charger solely by its display. A battery with an internal short, severe sulfation, or a very low state of charge can make a working charger appear faulty. Test the battery and charger together with a suitable meter or approved diagnostic equipment.
How Long Should You Leave a Battery Charger Connected?
Charging time depends on battery capacity, state of charge, charger output, temperature, and battery condition. A useful estimate for a conventional battery is:
Charging time in hours ≈ battery capacity in amp-hours ÷ charger current in amps × 1.2
For example, a 60-Ah battery charged at 5 amps may need roughly 14 to 16 hours from a deeply discharged state. Smart chargers can remain connected in maintenance or float mode if the manufacturer explicitly allows it. Basic, non-automatic chargers should not be left unattended because overcharging can produce heat, gas, and battery damage.
What Are the Seven Stages of a Battery Charger?
Smart charger terminology differs between brands, but a typical seven-stage charging program works like this:
- Qualification: Checks battery voltage, polarity, temperature, and whether the battery can safely accept charge.
- Soft start: Applies a low current to a deeply discharged battery and confirms that voltage rises normally.
- Bulk charge: Delivers the charger’s main current until the battery reaches its absorption-voltage target.
- Absorption: Holds a controlled voltage while current gradually tapers, completing most of the charge.
- Recondition or equalization: On compatible lead-acid batteries, a controlled higher-voltage phase may reduce sulfation. This is not suitable for every battery type.
- Float: Maintains the battery at a safe voltage without continuously forcing high current into it.
- Maintenance or pulse monitoring: Periodically checks voltage and adds small amounts of energy to offset natural discharge.
These stages primarily describe smart 12-volt chargers. An EV onboard charger follows a vehicle-specific strategy controlled by the battery management system, so its behavior may not match the seven-stage sequence shown on a consumer charger.
When to Stop Troubleshooting and Get Professional Help
Arrange specialist diagnosis if B3A1D returns after the 12-volt battery and charging connection have been verified, if multiple high-voltage codes are present, or if the vehicle refuses to enter charge mode. Professional equipment is needed to measure insulation resistance, charger output, CAN communication, and high-voltage interlock status safely.
Key Takeaway
B3A1D Battery Charger B is a charging-system fault, not proof that the charger itself has failed. Start with the 12-volt battery, fuses, connectors, charging inlet, cooling system, and related codes. Avoid opening high-voltage components, and use a qualified EV technician when the fault involves orange cables, the traction battery, or charger output.
Frequently Asked Questions
Can a weak 12-volt battery cause B3A1D?
Yes. Low auxiliary voltage can prevent charger modules and contactors from initializing correctly. Test or charge the 12-volt battery before replacing expensive high-voltage components.
Will disconnecting the battery clear B3A1D?
It may erase temporary information, but it does not repair the cause. The code will usually return when the charging system performs its next self-test.
Can I keep driving with B3A1D?
If the vehicle drives normally, a short trip to a repair facility may be possible, but the traction battery may not recharge. Stop driving and seek assistance if there is smoke, burning odor, severe electrical warning, or a high-voltage isolation message.
Is B3A1D the same on every vehicle?
No. The broad description may be similar, but the exact charger circuit and test criteria are manufacturer-specific. Always compare the code with the vehicle’s service manual and scan-tool data.